This guide adds phone-tap two-factor authentication to a VPN that authenticates over RADIUS. The Notakey auth-proxy sits between your VPN concentrator and your RADIUS server: it forwards the password check to RADIUS as usual, pushes an approval request to the user’s phone, and returns Access-Accept to the VPN only when both succeed.
Because the proxy speaks standard RADIUS on both sides, it works with almost any RADIUS server (FreeRADIUS, Microsoft NPS, MikroTik’s native User Manager, or Notakey’s own RADIUS plugin) and with any VPN concentrator that can point at a RADIUS server.
How it works
VPN concentrator ──RADIUS──▶ Notakey auth-proxy ──RADIUS──▶ your RADIUS server
                                     │
└──▶ push notification ──▶ user's phone- The user dials the VPN with their username and password.
- The concentrator sends the RADIUS request to the auth-proxy (not to your RADIUS server directly).
- The proxy forwards the request downstream. If the password check fails, the login is rejected immediately.
- If the password is good, the proxy pushes an approval request to the
user’s phone and holds the RADIUS exchange open while the user
responds, by default up to 30 seconds (
vpn_message_ttl). - Approve → Access-Accept goes back to the VPN. Deny or timeout → reject.
Step 4 has one important consequence: your VPN’s RADIUS client timeout must be at least as long as the approval window: at least 30 seconds. Most RADIUS clients default to a few seconds or less, because a plain password check answers instantly; here a human has to take out a phone.
Requirements
- A Notakey Authentication Server: the free cloud tier at signup.notakey.com or the on-premise appliance
- A RADIUS server (or use Notakey’s RADIUS plugin; see below)
- A VPN that authenticates against RADIUS
- The same username in the Notakey service, in RADIUS, and in the VPN (the proxy uses it to address the push notification)
Step 1 — Create the VPN application
In the Notakey dashboard, create an application (service) for the VPN, onboard the users’ phones, and copy the application’s Access ID, the UUID you’ll paste into the proxy configuration below.
Step 2 — Configure the auth-proxy
On-premise appliance: the built-in proxy
The appliance ships with the auth-proxy included. Configure it from the appliance CLI with a single JSON document:
ntk cfg set :ap '{
  "vpn_port_in": "1812",
  "vpn_port_out": "1812",
  "vpn_radius_address": "10.0.1.23",
  "vpn_secret_in": "secret_to_radius_server",
  "vpn_secret_out": "secret_to_radius_server",
  "vpn_access_id": "c468f008-485b-b11c-aad9672fbae1",
  "vpn_message_ttl": "30",
  "message_title": "VPN authentication",
  "message_description": "Allow {0} login?"
}' --json-input
Then start the service:
ntk ap startWhat each field means:
| Field | Meaning |
|---|---|
vpn_port_in |
Port the proxy listens on for your VPN’s RADIUS requests |
vpn_port_out |
Port of your downstream RADIUS server |
vpn_radius_address |
Address of your downstream RADIUS server |
vpn_secret_in |
Shared secret between your VPN and the proxy |
vpn_secret_out |
Shared secret between the proxy and your RADIUS server |
vpn_access_id |
The application Access ID from step 1 |
vpn_message_ttl |
Seconds the user has to approve (30 is a sane default) |
message_title / message_description |
What the push shows; {0} is replaced with the username |
Cloud appliance: the dockerized proxy
With a cloud-hosted Notakey server, run the same proxy as a container inside your own network, in front of your RADIUS server:
docker run --name auth-proxy \
  -e NOTAKEY_HOST="https://2fa.your_company.com/api" \
  -e NOTAKEY_ACCESS_ID="c468f008-485b-b11c-aad9672fbae1" \
  -p 1812:1812/udp \
  -e LISTEN_ADDRESS=0.0.0.0 \
  -e ADDRESS_SECRET_IN=0.0.0.0:secret_to_radius_server \
  -e DOWNSTREAM_ADDRESS=10.0.1.23 \
  -e SECRET_OUT=secret_to_radius_server \
  notakey/authproxy:latest
Same moving parts, different packaging: NOTAKEY_HOST is your cloud
instance’s API URL, DOWNSTREAM_ADDRESS your RADIUS server, and the two
secrets pair with the VPN side and the RADIUS side respectively.
The full reference for both variants (including an MSI installer for running the proxy on Windows, network connectivity requirements, and log locations) is the Authentication Proxy manual.
Step 3 — No RADIUS server yet? Use ours
If you don’t already run RADIUS, you don’t need to build one just for this:
- Notakey RADIUS plugin. The appliance ships a RADIUS service plugin (FreeRADIUS-based). It authenticates against the users already defined in your Notakey service, so there is no separate RADIUS user database to maintain. Setup is covered in our knowledge-base article RADIUS service plugin (no user configuration needed).
- MikroTik User Manager. If your VPN already terminates on a MikroTik, its native User Manager package works as the downstream RADIUS server.
- Any existing corporate RADIUS (FreeRADIUS, Microsoft NPS, and similar) works unchanged; the proxy is transparent to it.
Step 4 — Point your VPN at the proxy
Reconfigure the VPN concentrator’s RADIUS client: same secret as
vpn_secret_in, but the server address is now the proxy, not the RADIUS
server. And raise the timeout.
On a MikroTik, that looks like:
/radius
add service=ppp address=<proxy-address> secret=secret_to_radius_server timeout=30s

/ppp aaa
set use-radius=yes
The timeout=30s matters. MikroTik’s default RADIUS timeout is 300
milliseconds, fine for a password check but hopeless for a human approval. Set
it to at least 30 seconds (matching vpn_message_ttl), or logins will fail
before the user can even reach for their phone. The same rule applies to any
other vendor’s RADIUS client settings.
Test it
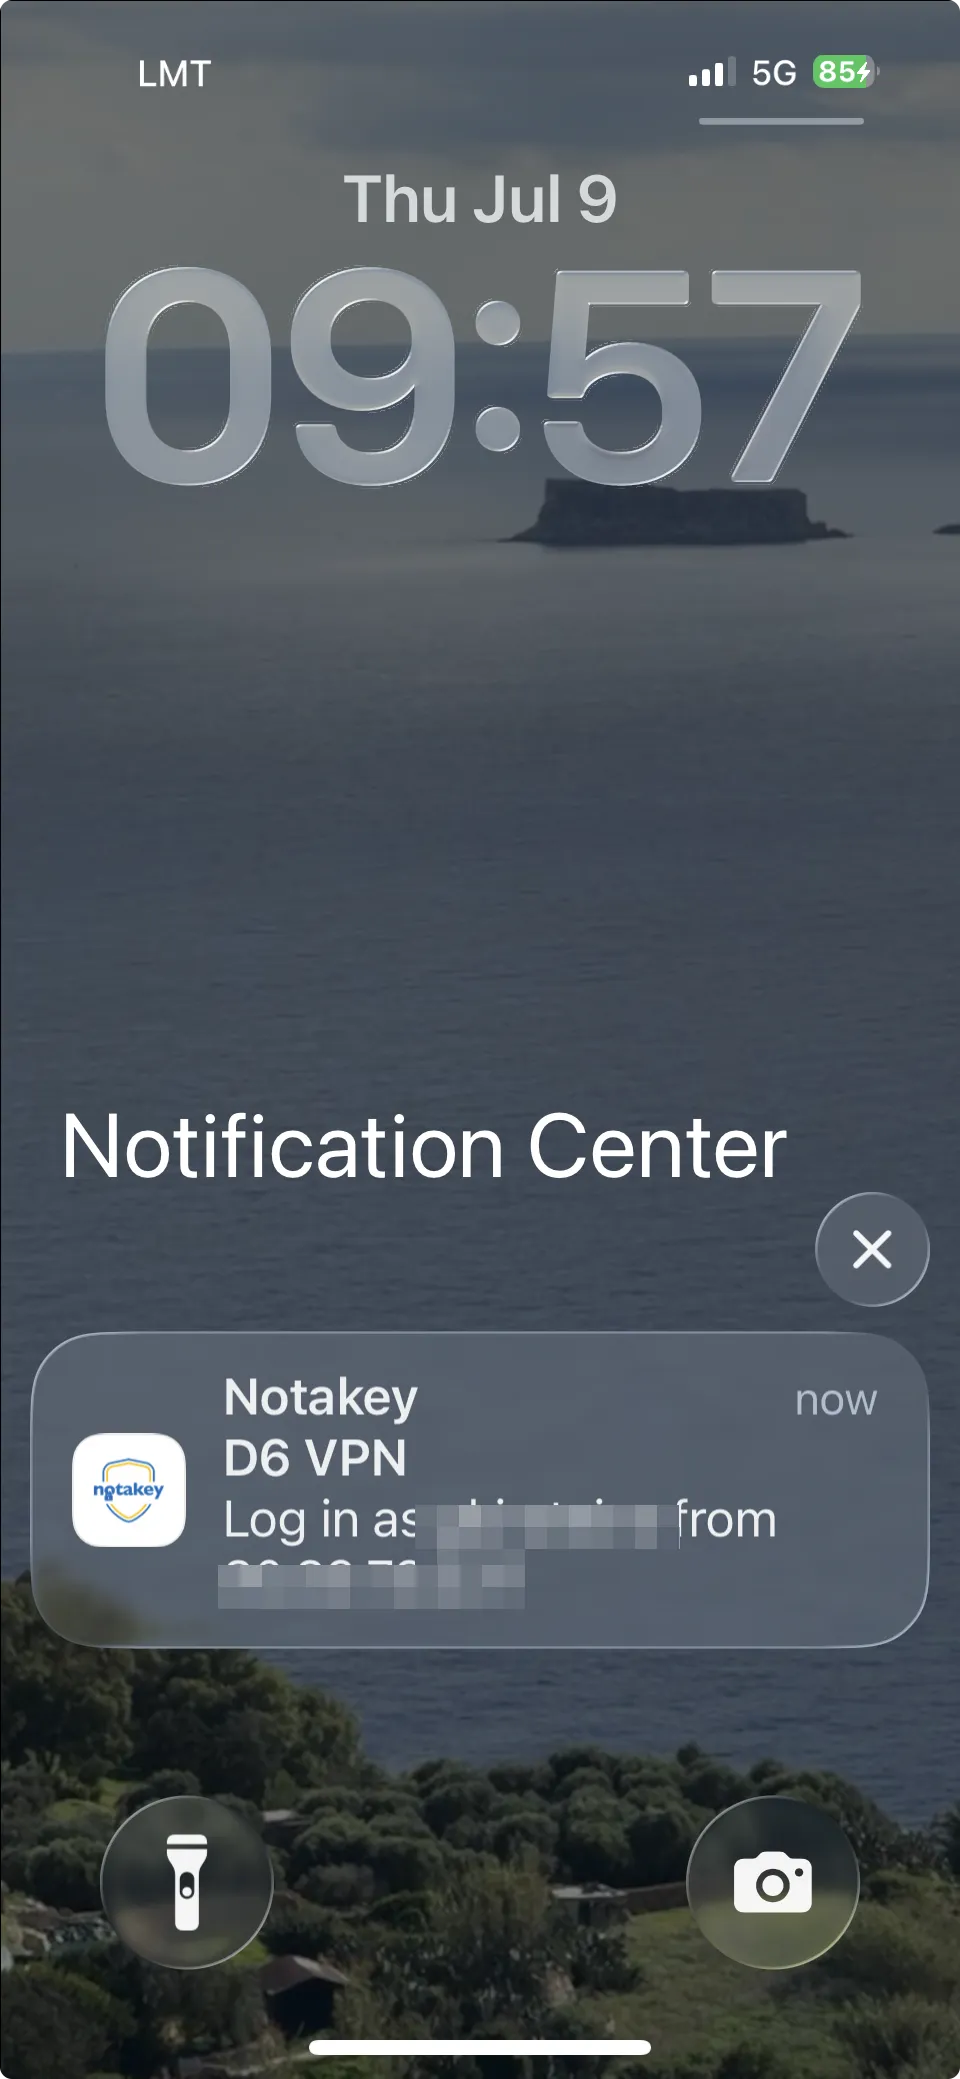
Dial the VPN. The password check passes, and the push lands on the phone, lock screen included, so the user doesn’t even need to have the app open:
Opening it shows the full request: who is logging in and from which IP address, with a countdown while the proxy holds the RADIUS exchange open:
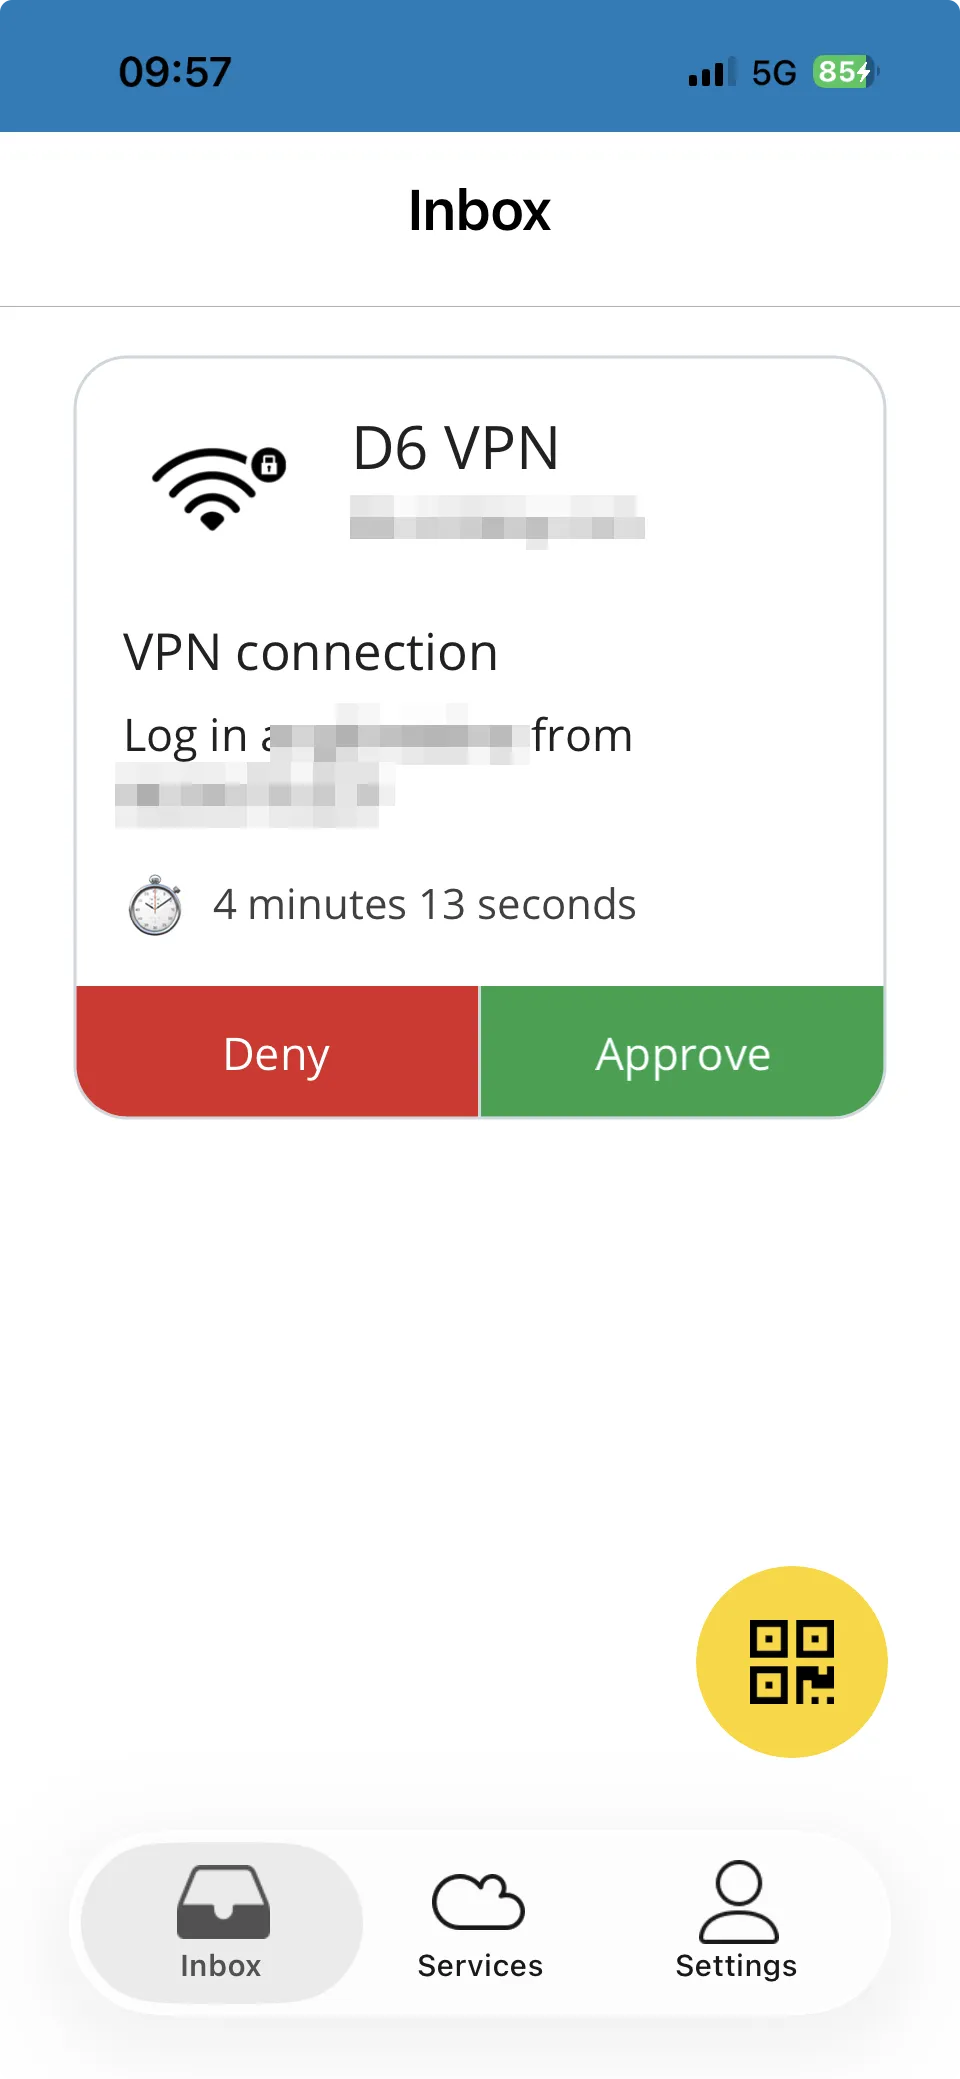
The connection completes only after Approve. And this screen is the security payoff of the whole setup: a user who gets this push while not dialing the VPN is looking at someone else using their password, from an IP they can see — and one tap on Deny stops the login and leaves an audit trail. If logins time out even when you approve quickly, recheck the RADIUS client timeout first; it is the most common mistake in this setup.
Related guides
- MikroTik router login 2FA: the same proxy, pointed at the router’s own WinBox/SSH login
- Linux SSH 2FA with pam_radius: the same proxy protecting SSH, sudo and su
- MikroTik VPN 2FA — the complete script-based setup: a single-router alternative with no RADIUS anywhere
- Windows Credential Provider for Remote Desktop