By the end of this guide your users sign in to an app with a phone approval — type a username, or scan a QR code, and confirm in the Notakey app. No password on the login page. The password still exists, but it does exactly one mandatory job: it is required once, at device registration, to create the user’s key. Everything after that is your policy decision, and this guide shows exactly where each policy lives.
Every Notakey service — the ones you already use for VPN, Windows or Wi-Fi 2FA — can also act as an OpenID Connect provider. You do not need a separate product for this: turn on OIDC for a service in the Dashboard, register the app that will use it as a client, and point that app at the endpoints Notakey gives you. No SAML certificates, no separate identity-provider server to run.
your app ──OIDC──▶ Notakey service (OIDC provider)
                        │
                        ├──▶ user repository: onboarded devices in this service
                        └──▶ push ──▶ user's phone: read, approve
(Classic SAML-only enterprise apps — Google Workspace, AWS — need Notakey’s separate SAML identity provider instead; see the last section for where to find that.)
How the password actually works here
Worth being precise about, because “passwordless” gets hand-waved a lot:
- Onboarding is the only mandatory password. Set in the Dashboard or pulled from Active Directory, it is checked once when the user registers their device and their key is generated in the phone’s secure hardware.
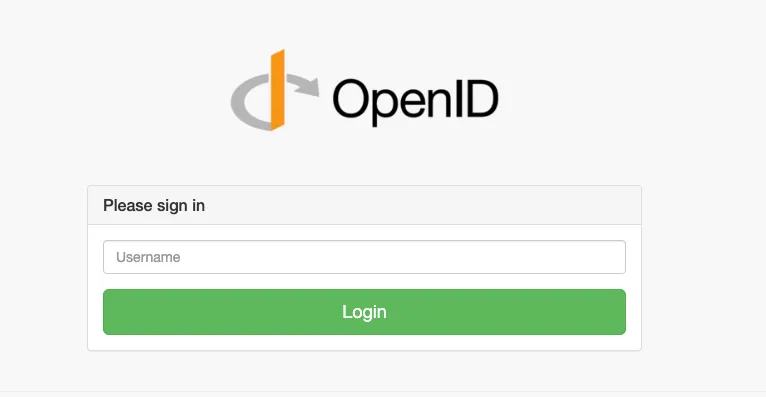
- Daily sign-in has none. The user types a username or scans a QR code; the login page can be reduced to scan-only, nothing to type into at all. The identity check is the signed approval in the app.
- Everything past that is a setting, not a rule. One app can ask for an extra in-app confirmation, another a password, a third both. You can also re-ask the password on an interval so people don’t forget it entirely. All of it lives in one config screen, covered in step 5 below.
Step 1 — Pick a service
Use an existing Notakey service if its users already overlap with the app you’re connecting, or create a new one (Services → Manage → New) if you want this app to have its own password policy, independent of everything else. Policy in step 5 applies to the whole service, not per client — that’s the deciding factor.
Step 2 — Turn on OpenID Connect
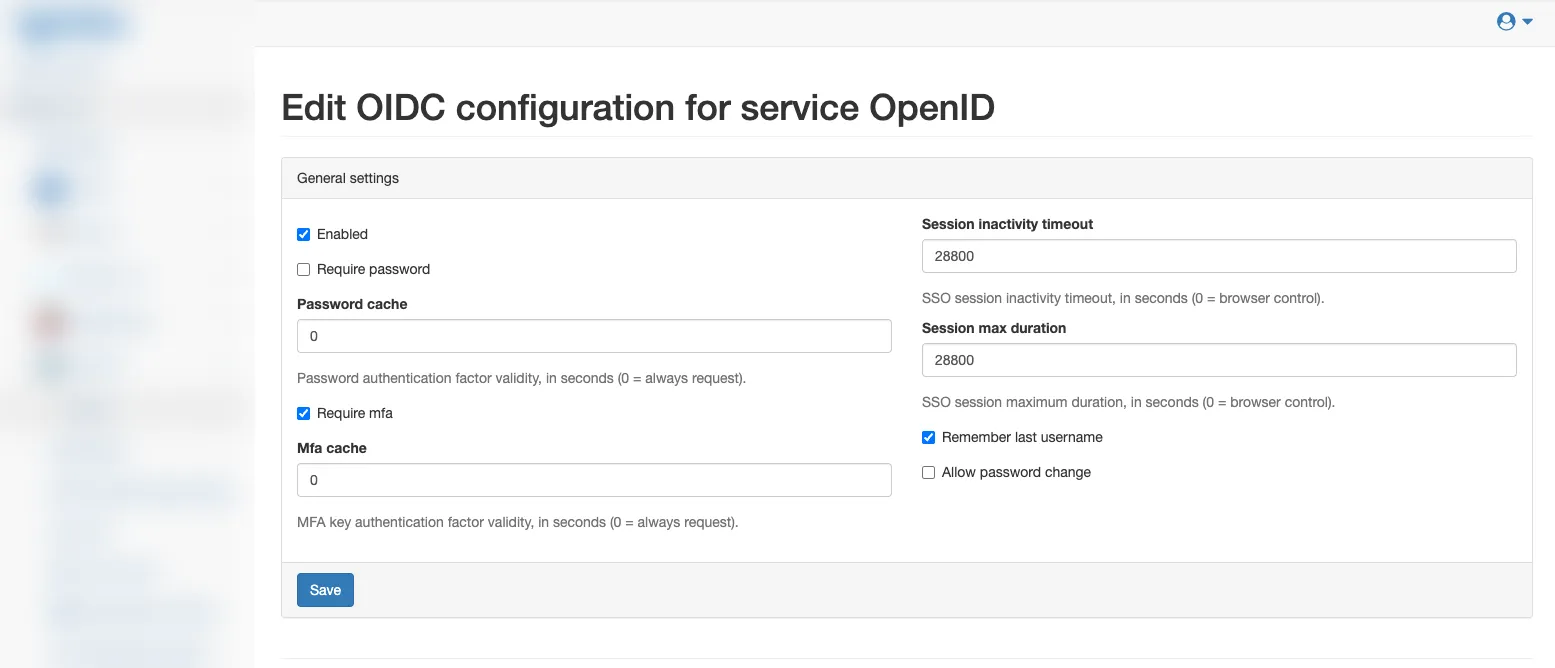
Open the service, then OpenID Connect configuration → Configure, and check Enabled. Leave the rest at their defaults for now — you’ll set Require password and Require mfa deliberately in step 5, not by accident here. Save.
Step 3 — Copy the endpoints
Back on OpenID Connect configuration, click Show. Notakey has generated a discovery document and the individual endpoints behind it:
https://<your-dashboard-host>/oidc/services/<access-id>/.well-known/openid-configurationMost OIDC-aware software only needs this one URL — paste it into an “auto
discovery” or “issuer” field and the app fetches the authorization, token,
userinfo and JWKS endpoints itself. <access-id> is the same ID shown on the
service’s own page.
Step 4 — Register the application as a client
Under the service, OpenID Connect configuration → Clients → New client. Notakey generates a Client ID and a random Secret for you.
Two things worth knowing before you save: the Secret field is masked and Notakey will not show it to you again once you navigate away, so copy it now — or select the field and paste in a secret of your own choosing, which works exactly as well and is easier to keep track of. And the Redirect URIs field has to match, character for character, whatever URL the app sends back during login — a trailing slash the app doesn’t send is enough to break it (see the gotcha below).
Fill in:
- Description — anything that helps you recognize it later.
- Secret — copy the generated one, or overwrite it with your own.
- Redirect URIs — the app’s OAuth callback URL. Comma-separate more than one if the app is reachable at several addresses.
- Logout URI — where to send the browser after sign-out. Optional.
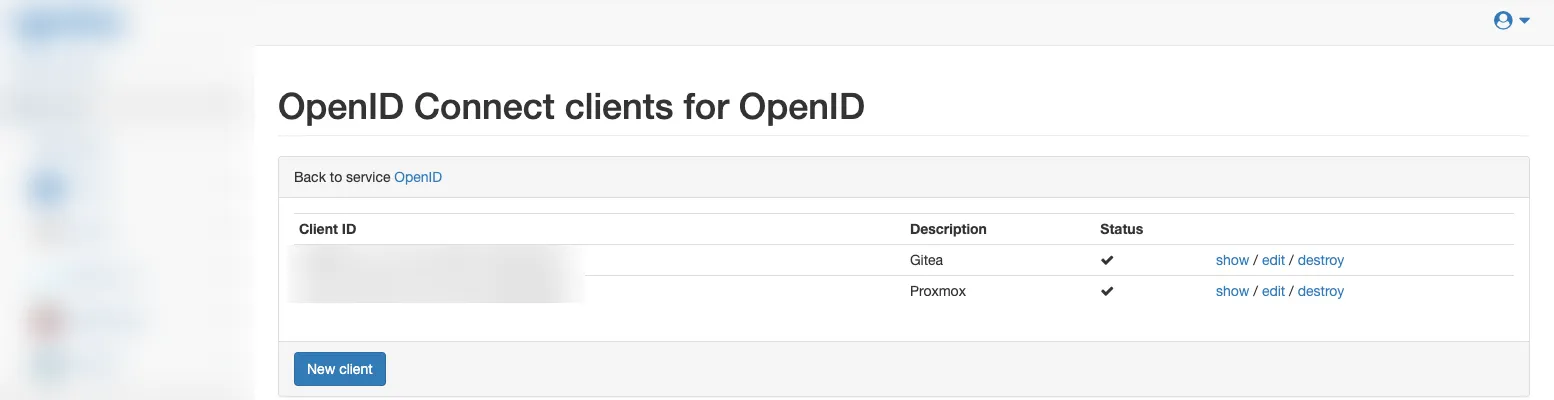
Once you have registered a couple of apps, the client list for the service looks like this:
Step 5 — Point the app at Notakey
The exact steps depend on the app, but the shape is always the same: an issuer or discovery URL, a client ID, a client secret. Two worked examples from real self-hosted tools:
Gitea ships a CLI command for this — no web form, no restart:
gitea admin auth add-oauth \
  --name notakey \
  --provider openidConnect \
  --key <client-id> \
  --secret <client-secret> \
  --auto-discover-url https://<dashboard-host>/oidc/services/<access-id>/.well-known/openid-configuration \
  --scopes openid --scopes profile --scopes email
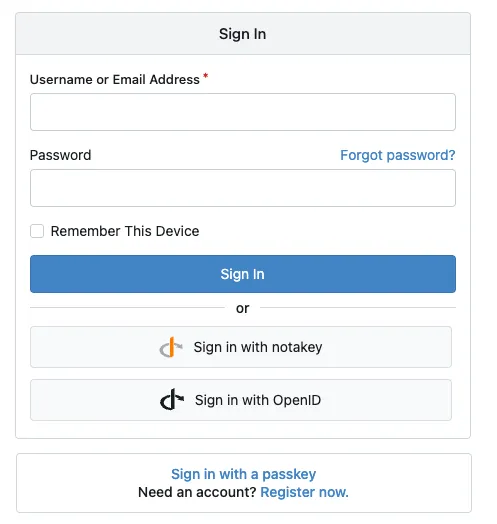
Gitea’s login page immediately grows a “Sign in with notakey” button, alongside the existing password form — nothing gets removed.
Proxmox VE treats it as an authentication realm, additive to whatever realms already exist:
pveum realm add notakey --type openid \
  --issuer-url https://<dashboard-host>/oidc/services/<access-id> \
  --client-id <client-id> \
  --client-key <client-secret> \
  --username-claim sub \
  --scopes "openid email profile" \
  --autocreate 1
--issuer-url here is the discovery URL minus its
/.well-known/openid-configuration tail — Proxmox appends that itself.
--autocreate 1 creates a matching Proxmox user on first successful login,
with zero permissions until you grant some explicitly; it will not hand out
access by accident.
Step 6 — Set the password policy
This is the “admin’s choice” part made concrete, back on OpenID Connect configuration → Configure:
- Require password, unchecked, with Require mfa checked: the passwordless flow from the top of this guide. Sign-in is username (or QR) plus phone approval, nothing else.
- Require password checked, Password cache left at
0: password every time, on top of the approval — classic two-factor. - Require password checked with a Password cache in seconds (say
2592000for 30 days): passwordless day to day, with the password asked again once that window has passed — purely so it never gets forgotten. Mfa cache works the same way for the approval step, if you ever want to cache that too.
Since this setting is service-wide, an app that needs a different policy than its neighbors belongs in its own service — back to the choice in step 1.
When something does not work
- A redirect_uri mismatch error almost always means a trailing slash:
some apps send
https://app.example.com, othershttps://app.example.com/, and Notakey matches the string exactly. Check your nginx or app access logs for the literalredirect_uri=the app sent and register that exact value. - If the discovery URL 404s, double-check Enabled actually got saved in step 2 — a config page that looks right but was never submitted is the most common miss.
- The Authentication activities log under the service shows every attempt that reached Notakey. An attempt that never shows up there means the app never got as far as the authorization endpoint — check the client ID and discovery URL first.
What this guide deliberately skips
Classic SAML 2.0 integrations for apps that only speak SAML — Google Workspace, AWS, and similar — go through Notakey’s separate SAML identity provider, not the OIDC path above. LDAP/Active Directory as the user repository, multi-tenant setups and custom branding also live outside this guide. All of it is in the CLI and API reference with full parameter tables; this guide is the fast path from zero to a working, passwordless login.
See it before you build it
The fastest way to judge the sign-in experience is to try the approval flow yourself: try the live demo and sign a request from your phone in about two minutes, or request a demo and we will map your applications and password policy to a pilot on your own infrastructure.